Prompts can be very powerful. So in today’s post, we’ll be focusing on using them in an Agent flow to create and also upload an Excel file into SharePoint. Then, from the Copilot Studio chat, the user will be able to open this file. One thing we’re NOT going to use is an Excel connector! Let’s get started 🚀
Create a Topic
While we can trigger an agent in different ways, today, we’ll use a Topic with a trigger of An activity occurs.
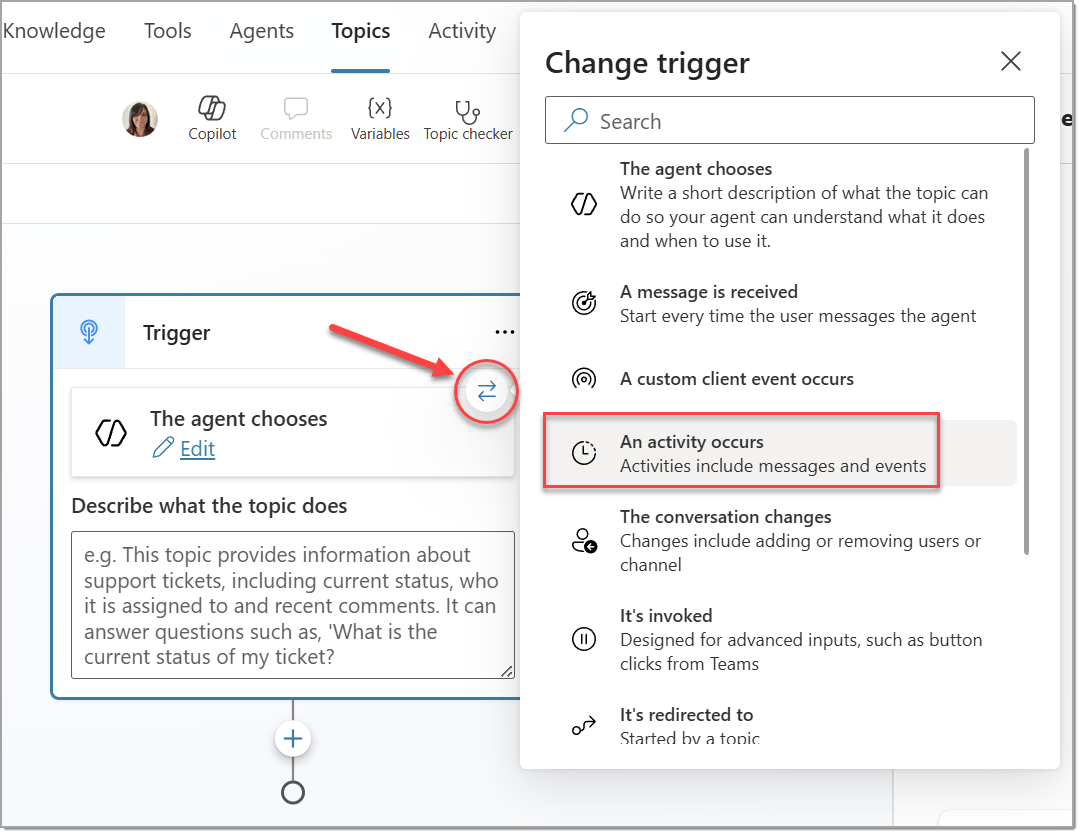
We’ll also add a condition in the trigger where Activity.Attachments has value.
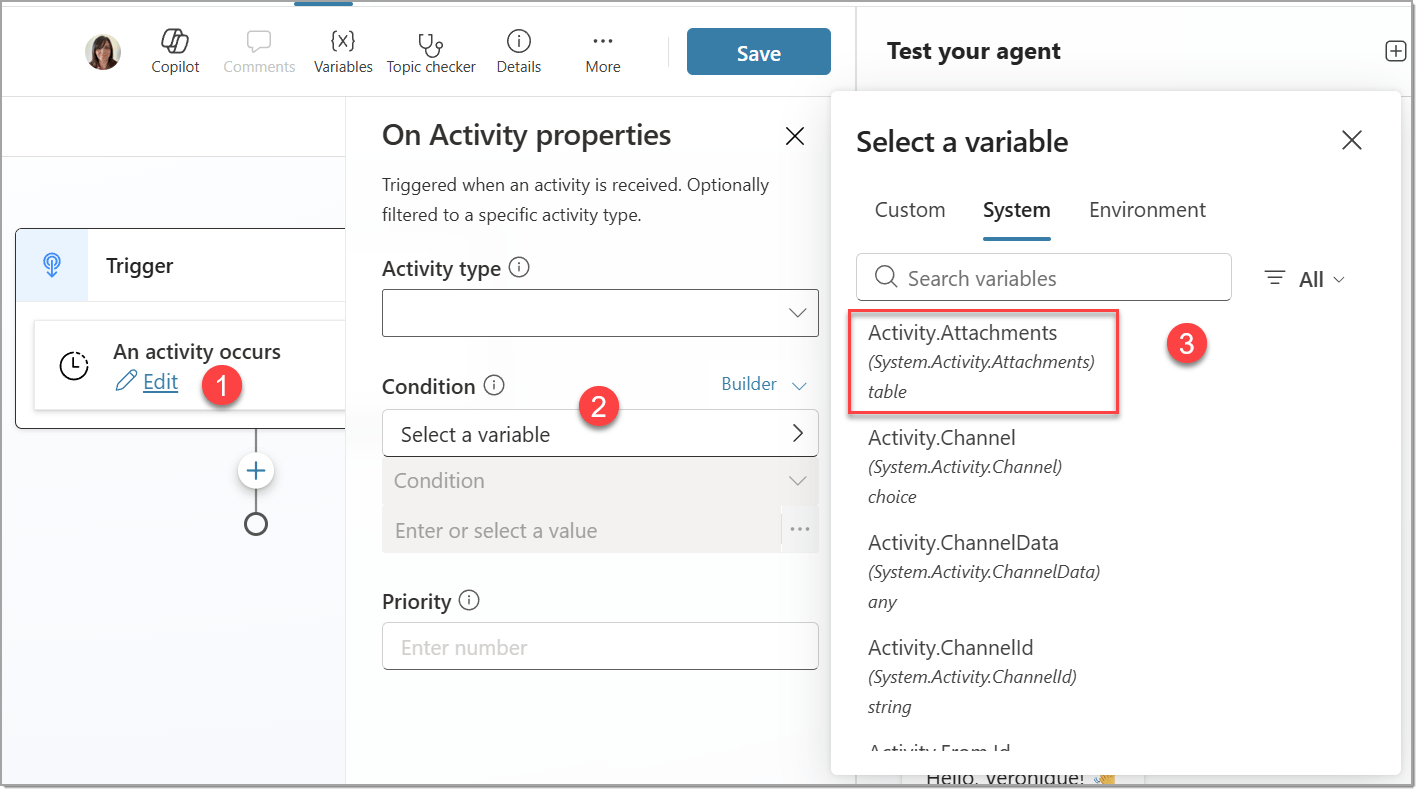
NOTE: Here, we’re going to upload the file directly for simplicity. But for more interactions, have a look at my previous post to check if a file was uploaded.
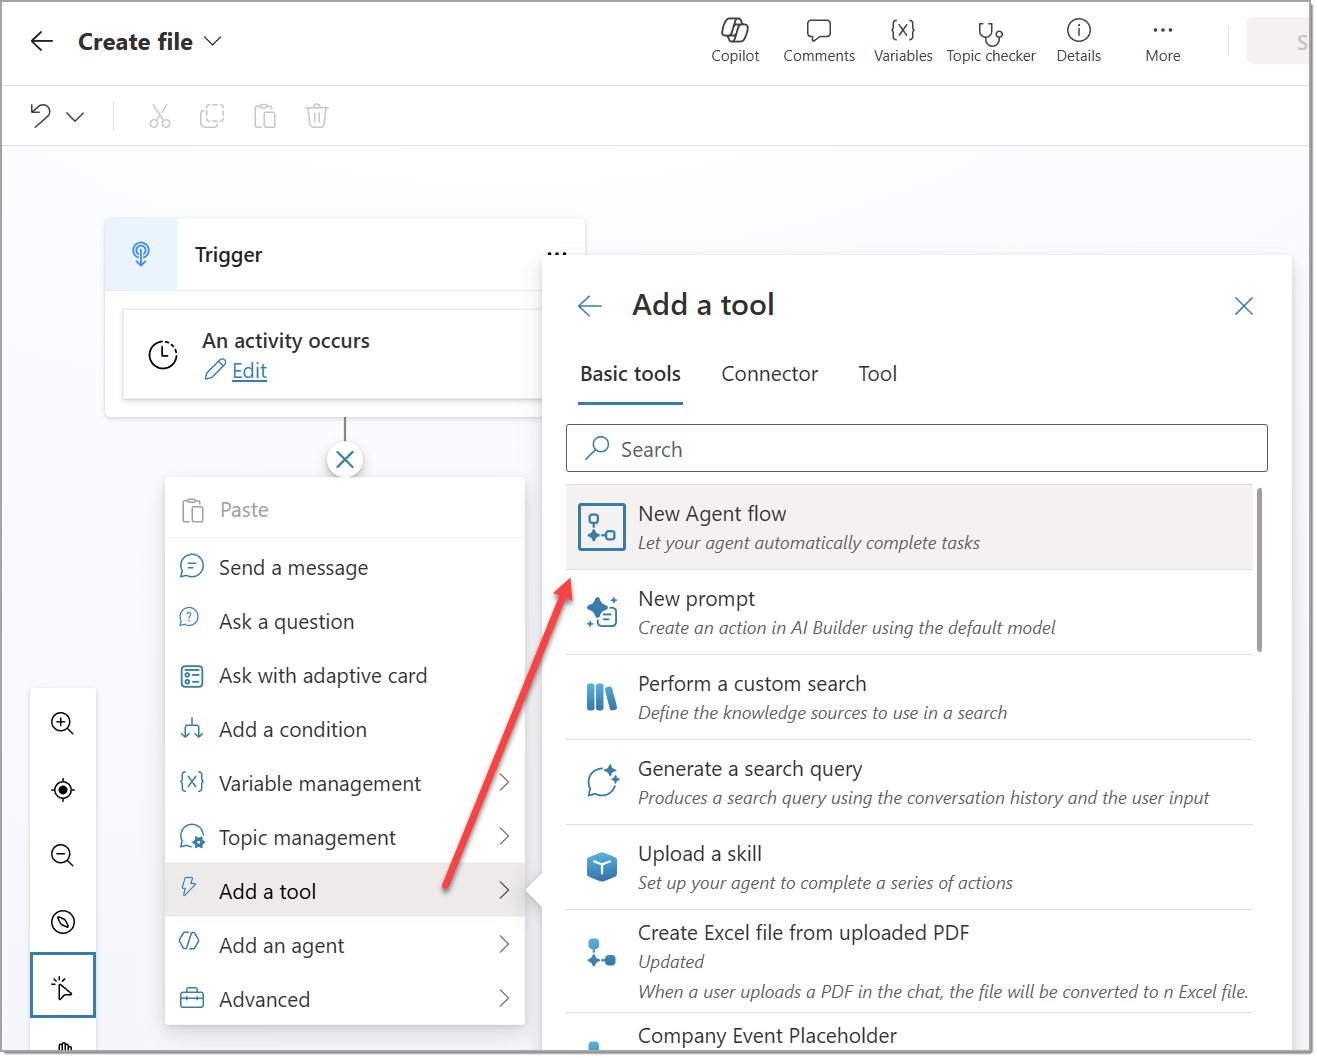
Add an Agent flow
We’ll create the Agent flow directly from the Topic. But feel free to create it with any other available ways, then add it.
Create the Prompt
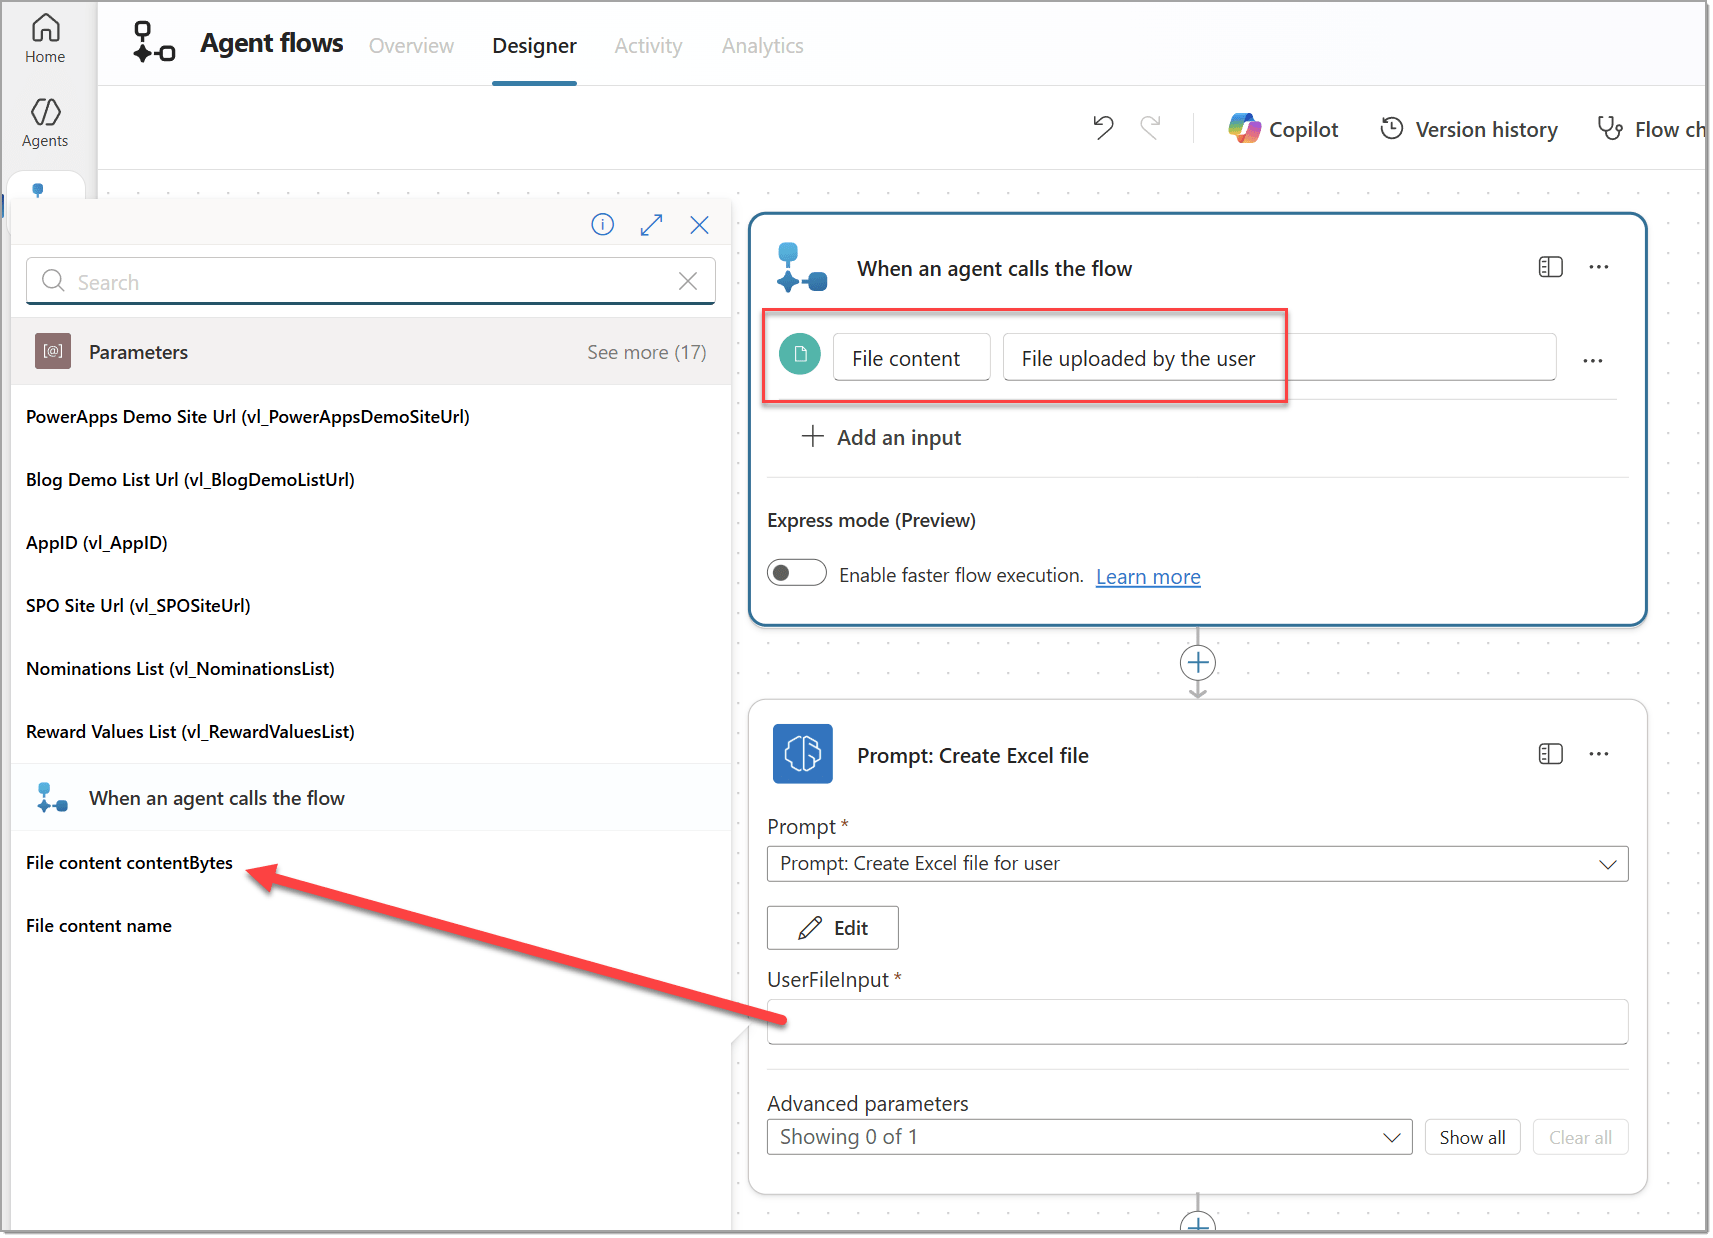
For the trigger of When an agent calls the flow, we’ll have an input of type File, which will be the file uploaded by the user in the chat. Then we’ll create our first prompt using the Run a prompt action.
Under Prompt, click on the dropdown, and choose + New custom prompt.
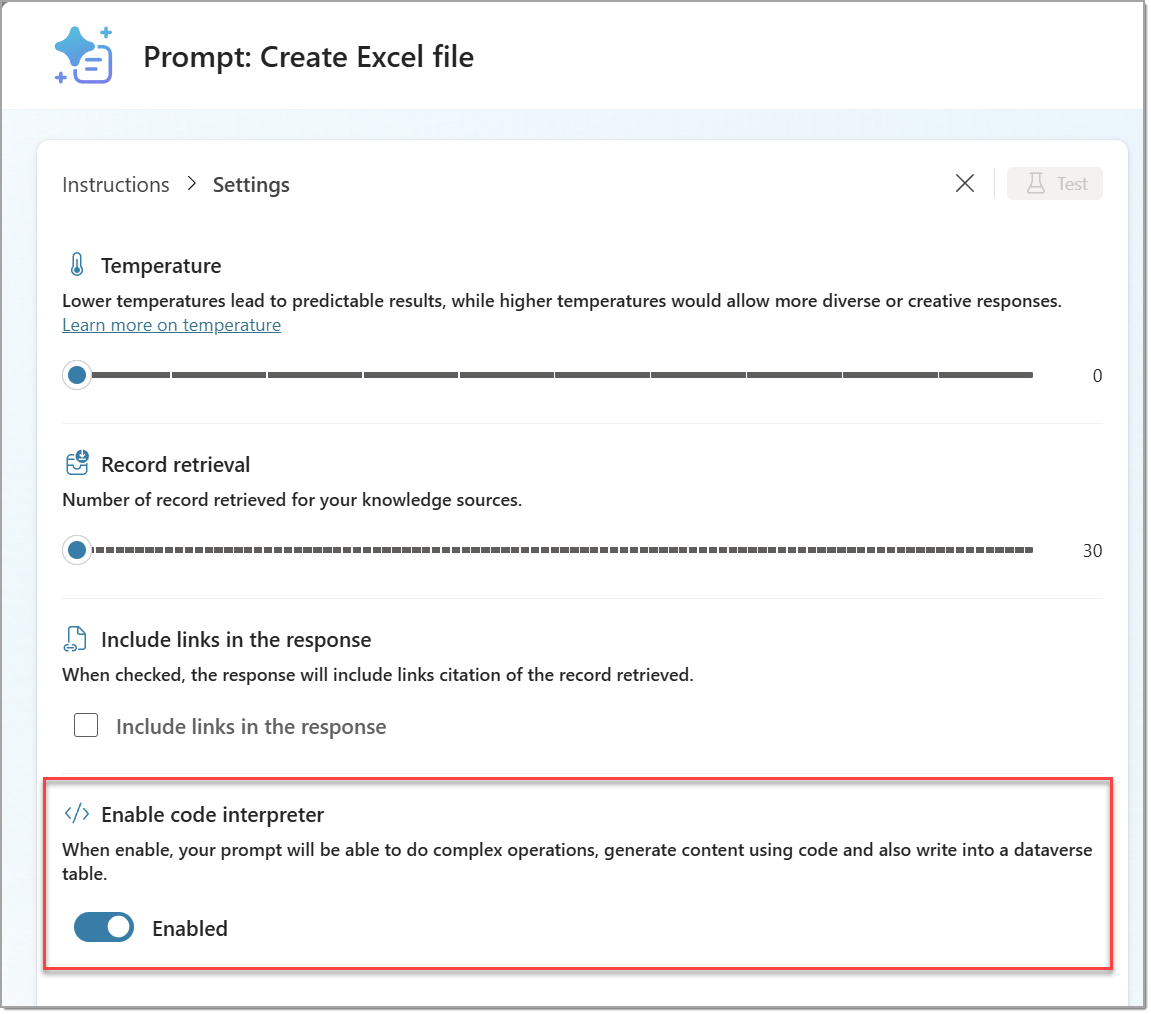
Before doing any testing, we need to enable the Code Interpreter feature:
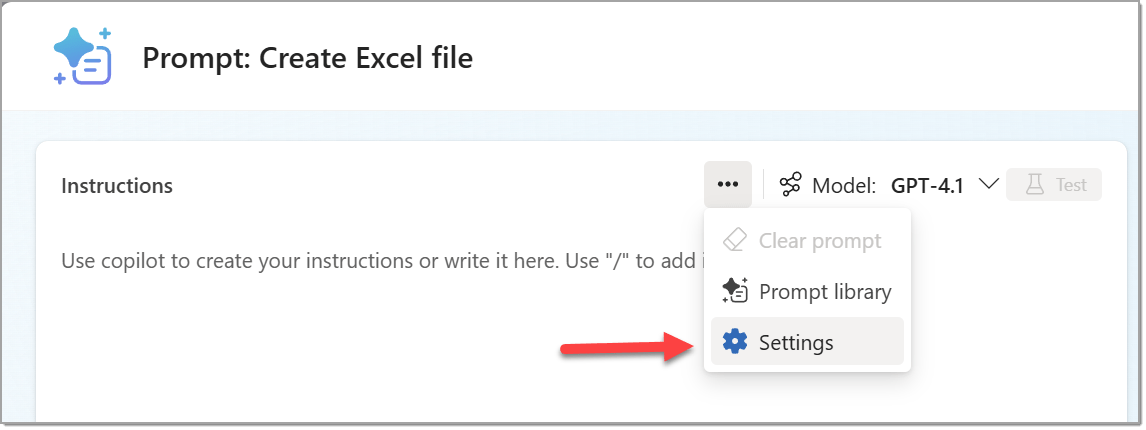
Then…
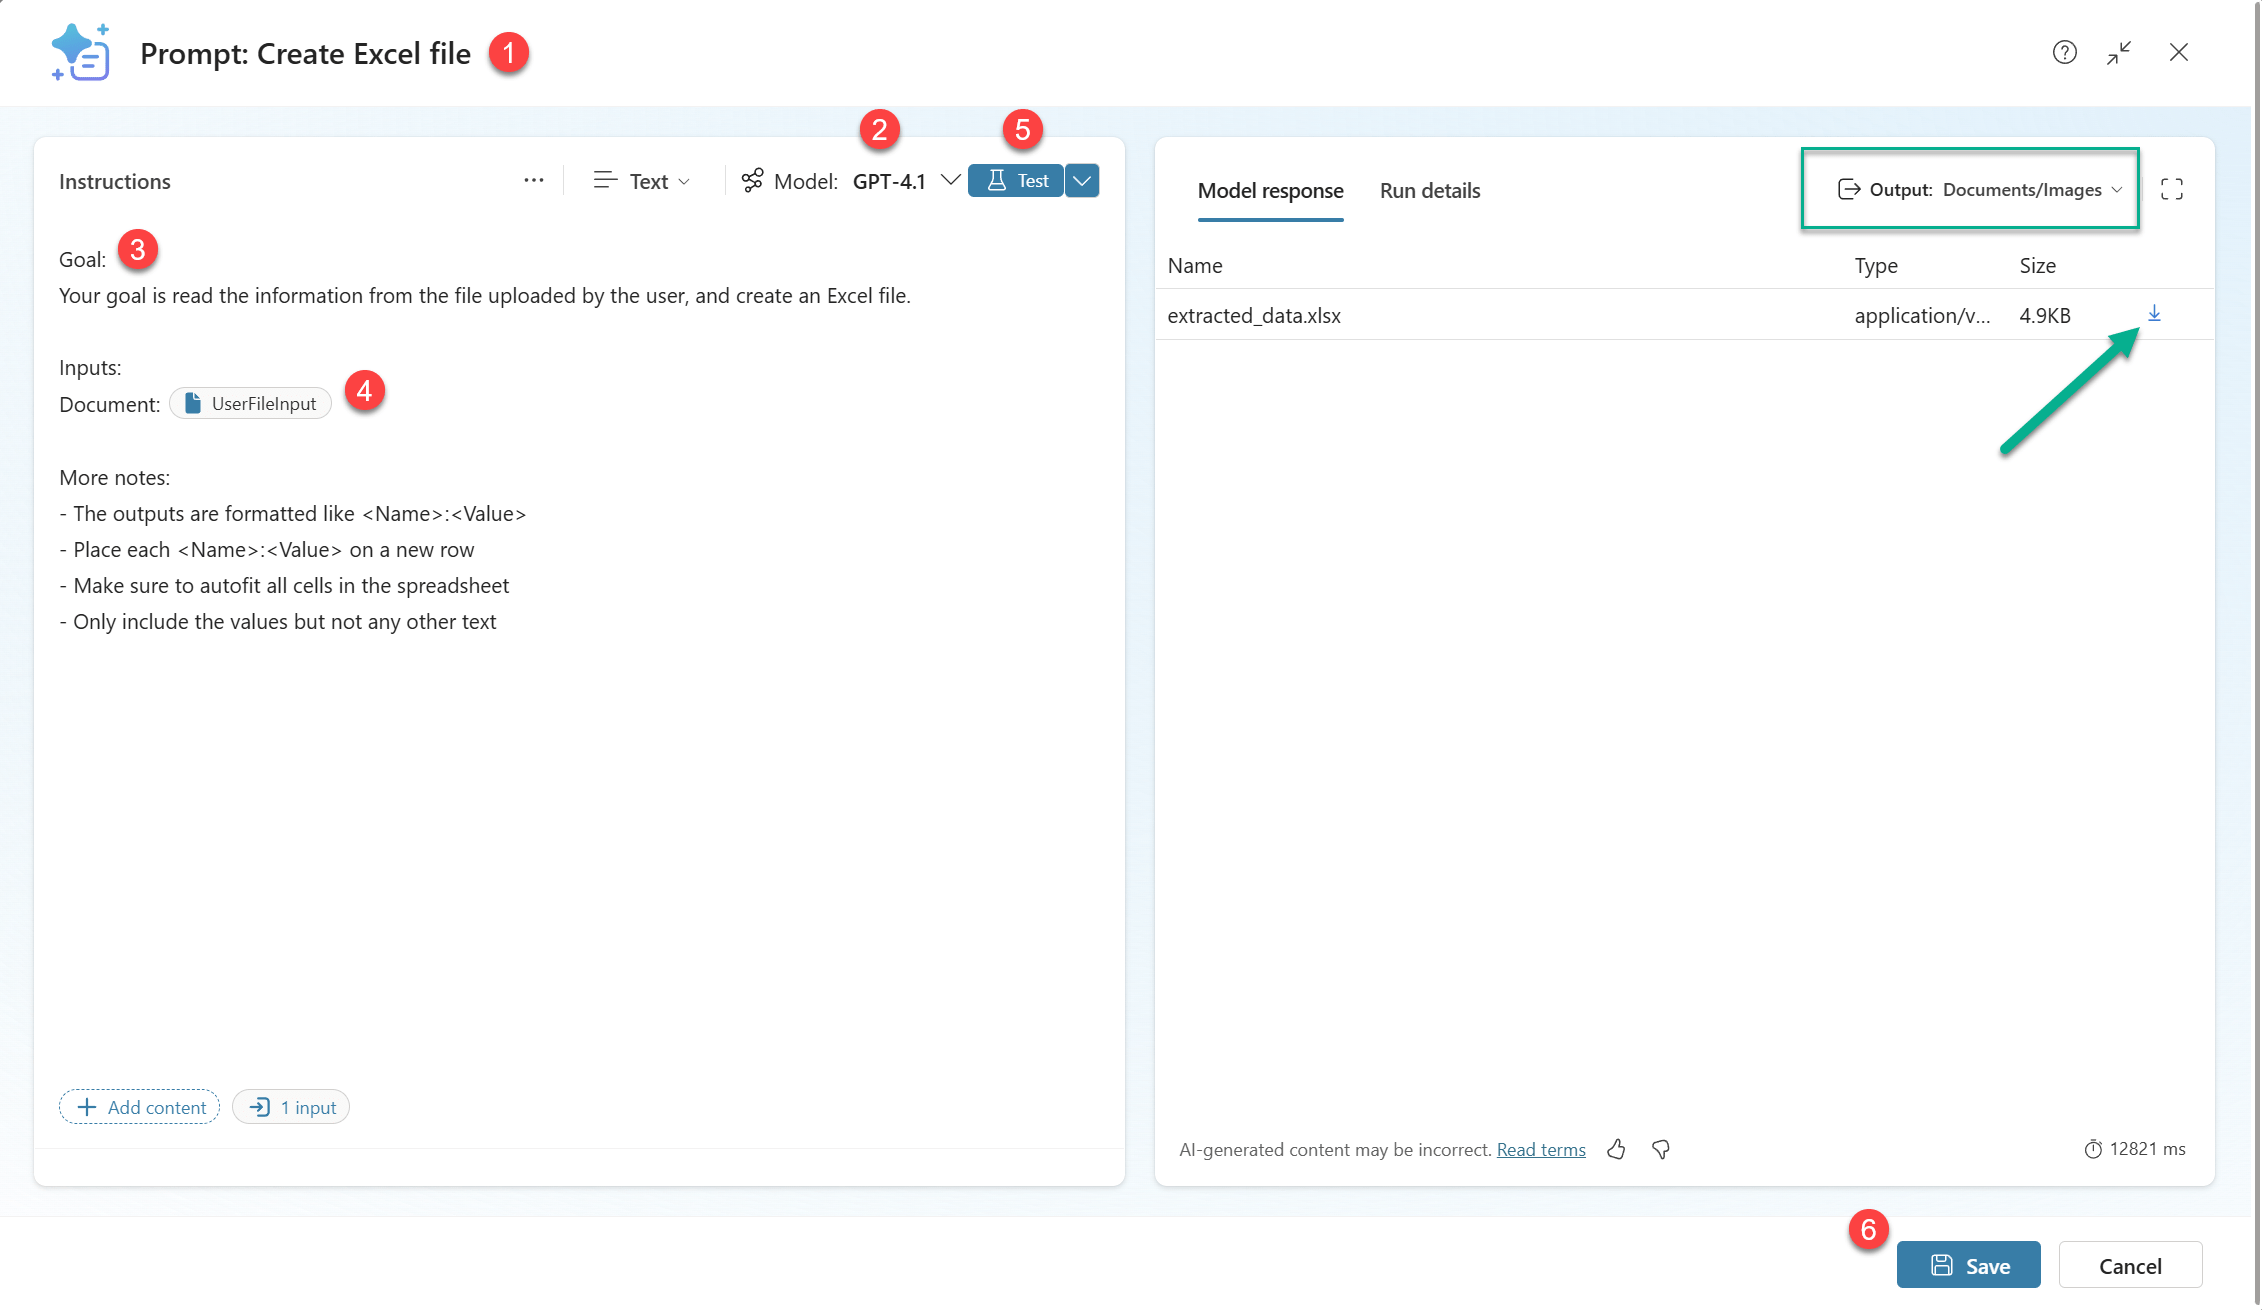
- Rename your prompt (i.e.: Extract Information, Create file, etc…)
- Change your model to adapt to your needs (i.e.: GPT-4.1 Standard, GPT-5, etc…)
- Give some detailed instructions (i.e.: goals, inputs, expected formats, additional notes, etc…)
- Add some documents or images as samples for your model to understand better
- Test your prompt
- When happy with the response, click Save to go back to the Agent flow.
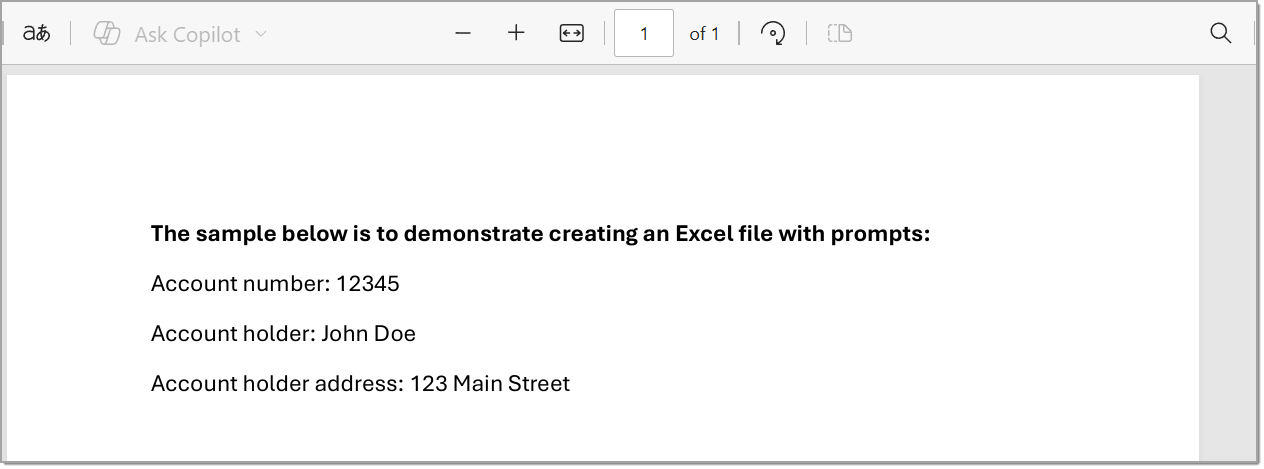
For completeness, here’s what my SampleFile.pdf looks like:
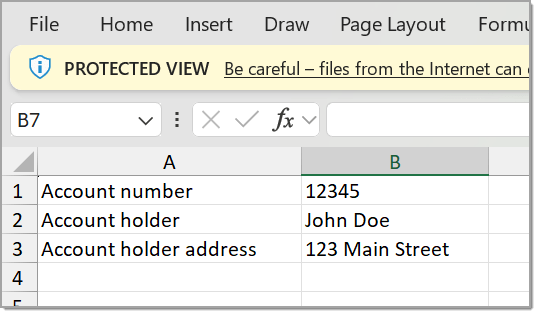
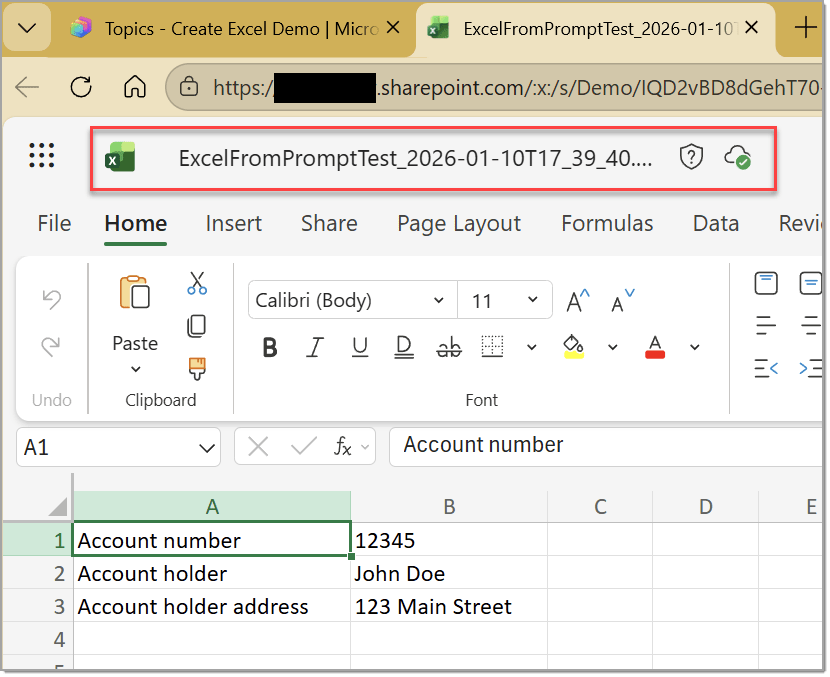
After running the test, we’re able to open what the final Excel file would be for the user, and eventually fine tune the prompt if needed! Here are the results with my prompt 🙂
Back to the Agent flow, from the dynamic content, let’s add the File content contentBytes to our UserFileInput (from the instructions we gave in the previous step)
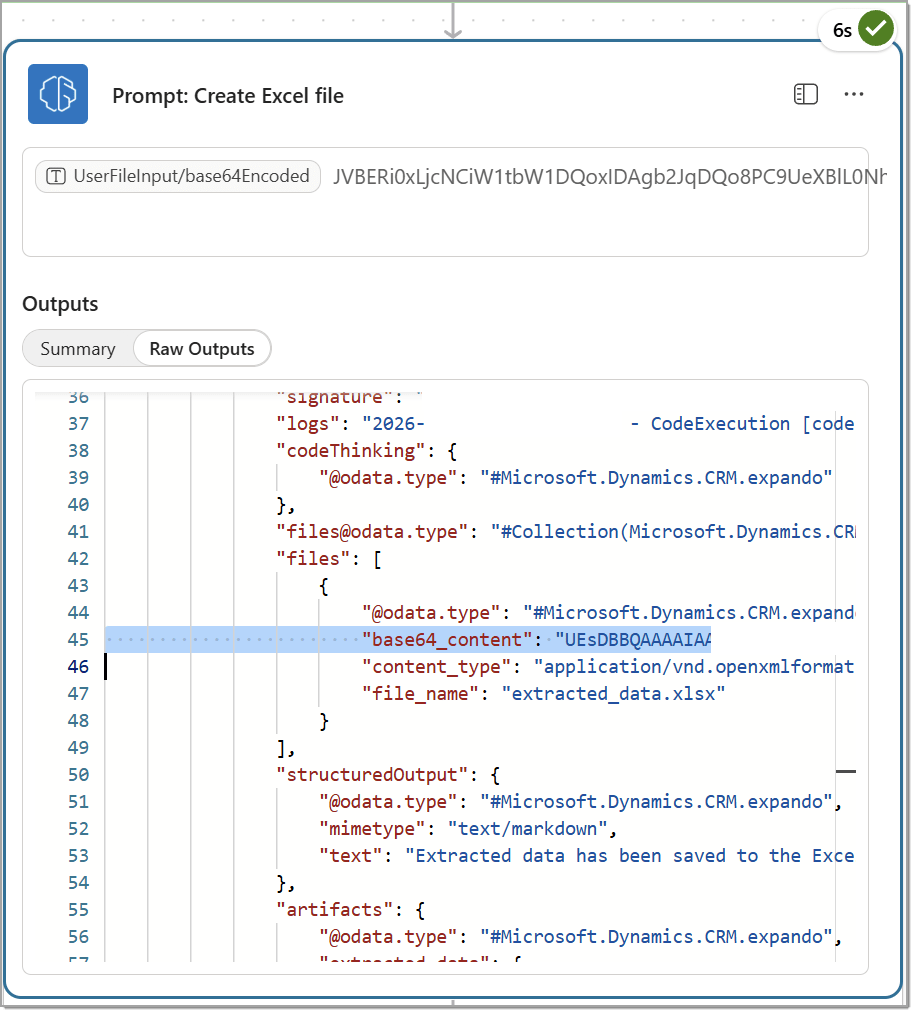
Now we need to run the flow to get some output for the next step 😉
In our prompt action, we’re interested in the base64_content value:
Upload the file in SharePoint
Add the Create file action (SharePoint in my case, but you can use the OneDrive for Business if you prefer). Enter all the required information (Site, library, file name of your choice) but when it comes to the File content, we need to enter the following:
base64toBinary(first(outputs('<NAME_OF_PROMPT_ACTION>')?['body/responsev2/predictionOutput']?['files'])['base64_content'])So in my case, it’s going to be:
base64toBinary(first(outputs('Prompt:_Create_Excel_file')?['body/responsev2/predictionOutput']?['files'])['base64_content'])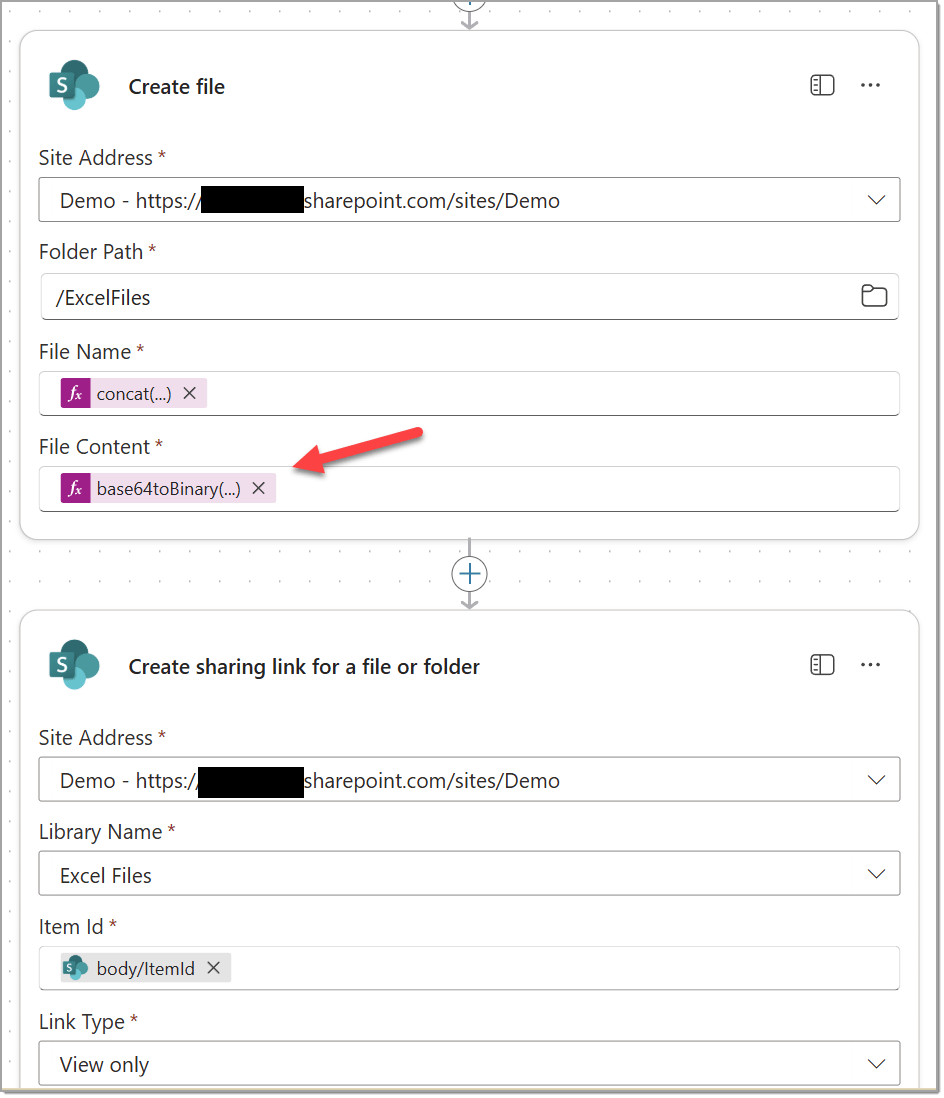
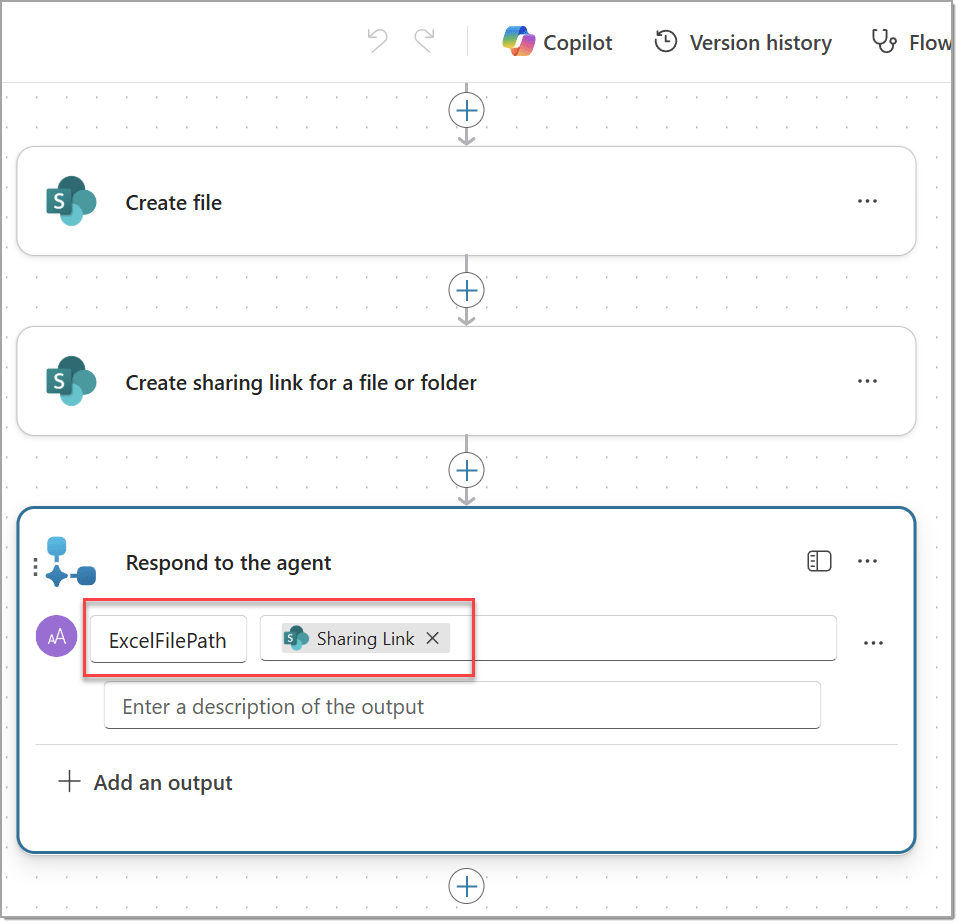
And finally, we’ll respond back to the Agent flow with the sharing link.
Back to the Topic
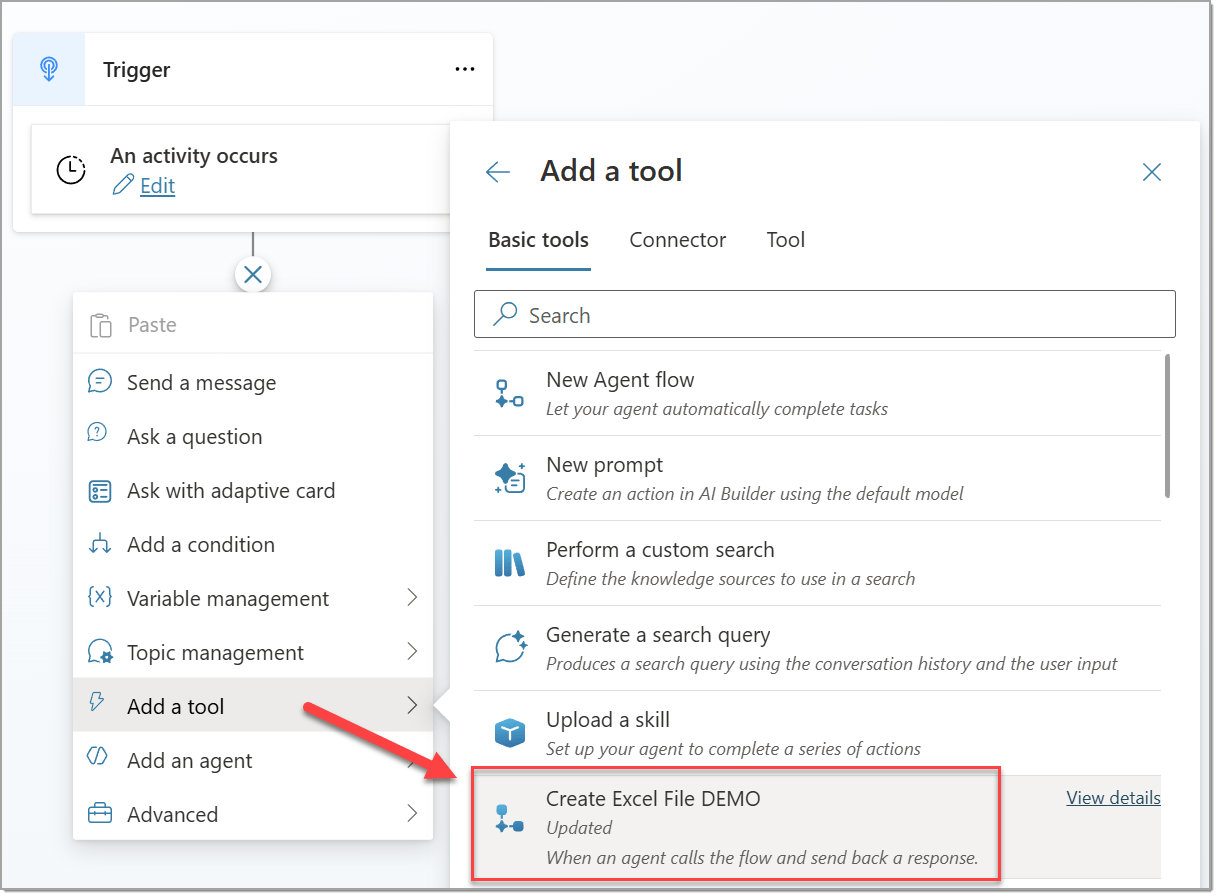
Click to add a new node as a Tool and find the Agent flow:
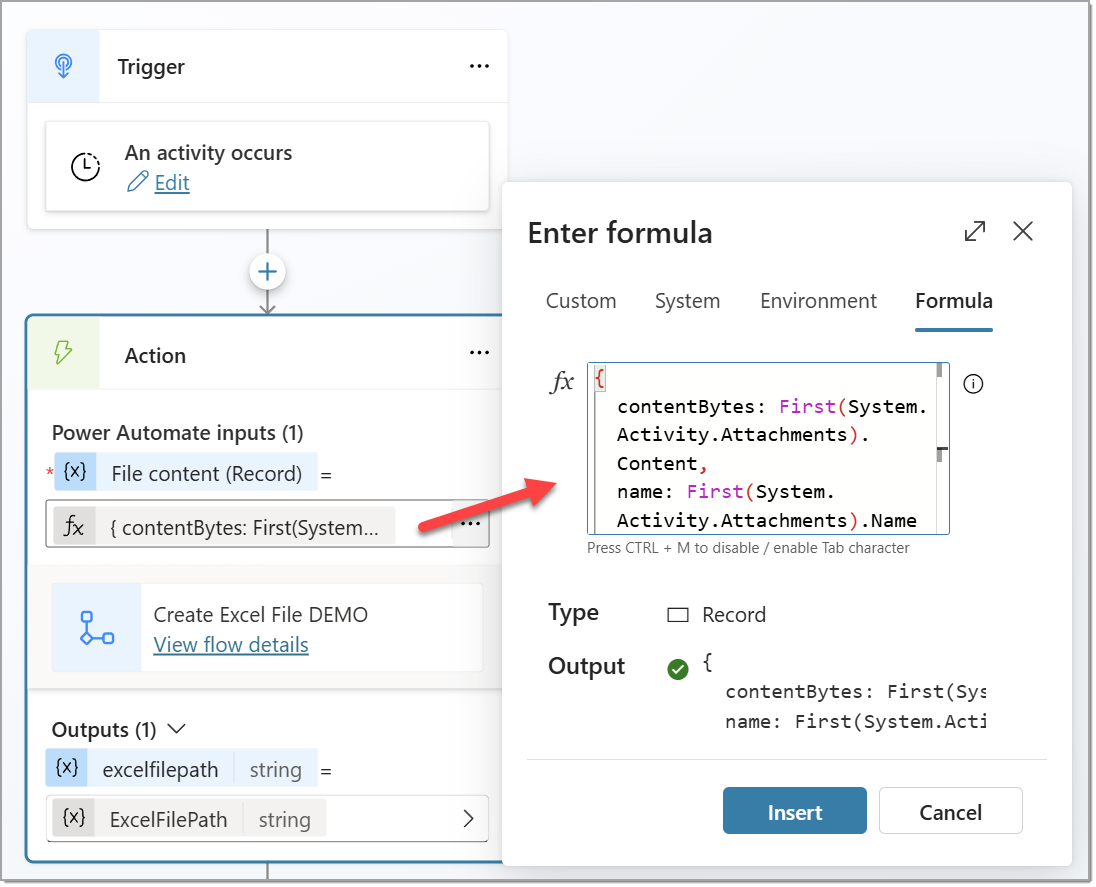
For the Power automate input, enter the following Formula:
{
  contentBytes: First(System.Activity.Attachments).Content,
  name: First(System.Activity.Attachments).Name
}
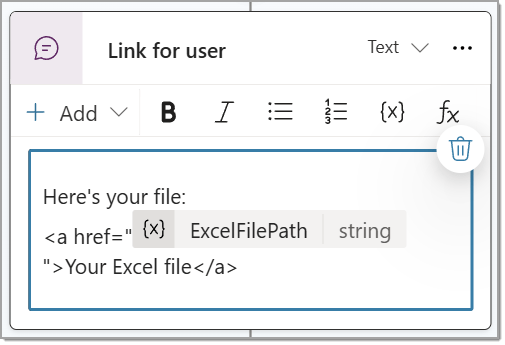
Last node will be Send a message for the user to have a clickable link.
👉 Let’s test!
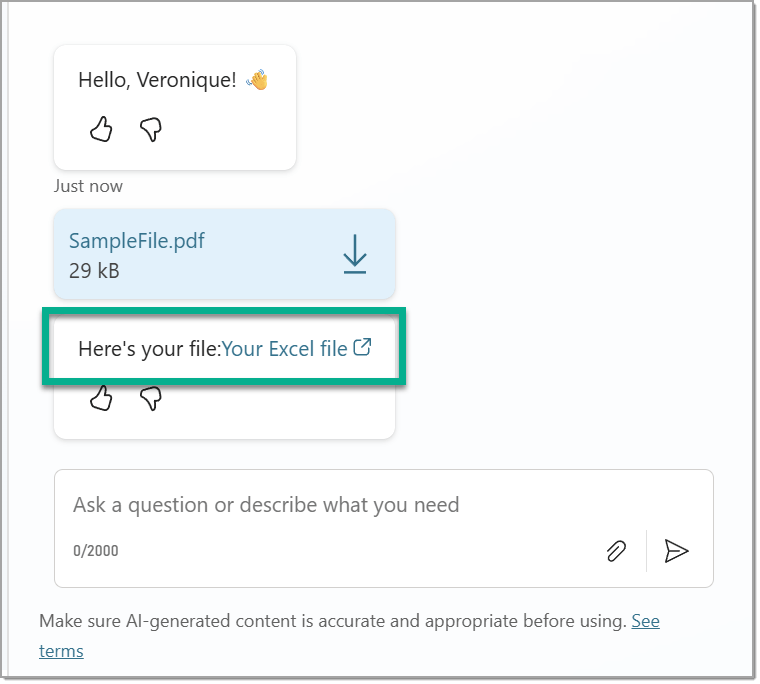
That’s it! Thanks for reading! 🙂